
Create AI video from an image, storyboard and motion direction
Creating a video with AI in Pendid starts from an image and results in a usable moving scene. Choose the starting image, describe the motion you want, set an end frame if needed, and continue the whole process in a single workspace.
If you don't have a suitable image yet, you can first create the project's frame or storyboard, then use that image for photo-to-video, image-to-video, or making a short animation.
- AI storyboard planning
- Start & end frame creation
- Image-to-video
- Motion and camera guidance
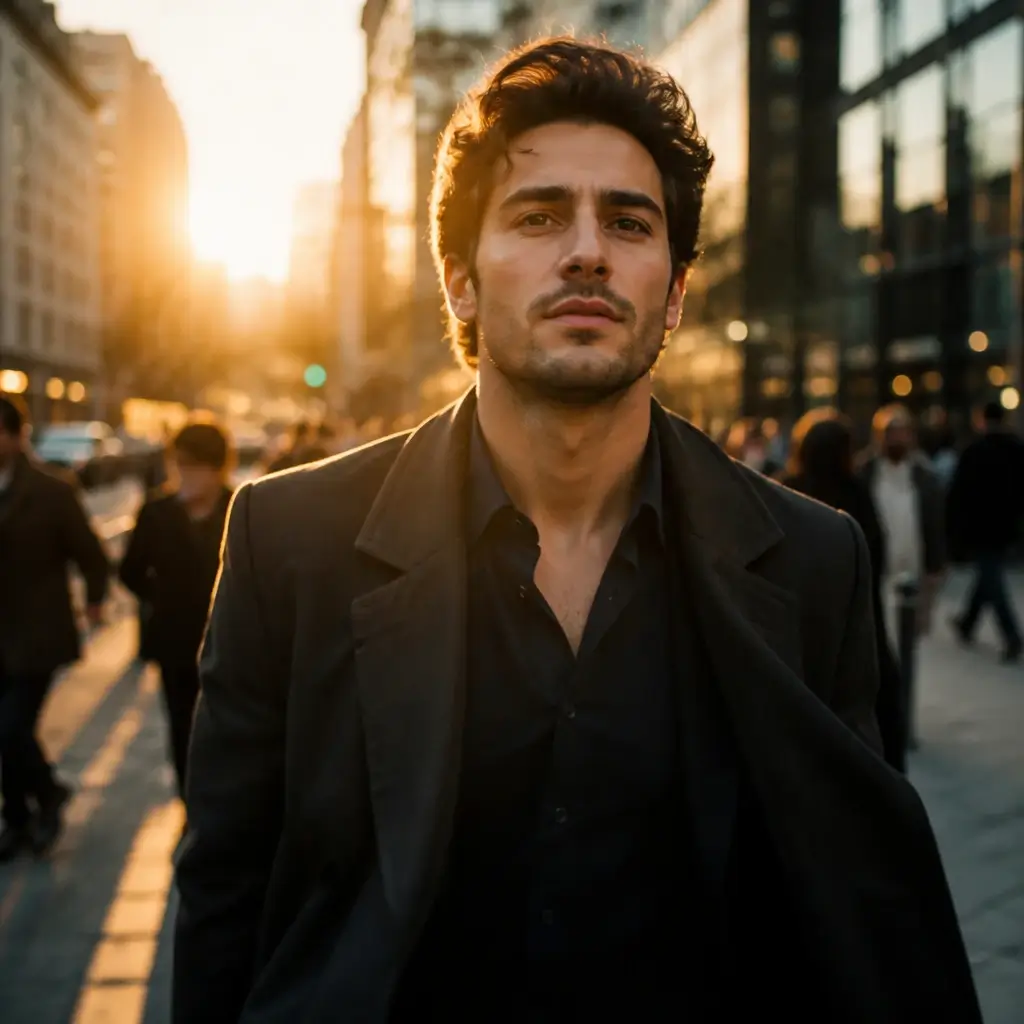
How AI video generation works in Pendid
In generative video production, instead of manually creating each frame, an AI model uses a reference image and a motion instruction to build a new sequence of frames. The result can be subject movement, a camera change, or a gradual change in the scene.
In the Pendid video workspace, the starting image acts as the main reference. This image can be a real photo, a product image, a design output, a 3D render, a character, an illustration, or an image you created with AI tools. Then, with the motion instruction, you define what should happen in the scene.
For some projects, a single simple movement is enough — for example, the camera moving closer to a product, gentle fabric movement, an object rotating, or an illustration coming to life. In other projects, you might also need an end frame so the motion arrives at a specific state.
Short answer: to create a video with AI in Pendid, you choose a starting image, describe the motion, and add an end frame if needed; the system prepares these inputs for the video model and saves the result as a video.
Define the topic, goal and main motion of the scene.
Upload a suitable photo or image, or create one first.
Write the subject's movement, the camera and the scene's mood.
Create the video, review the result, and try again with a more precise input if needed.
If you already have a starting image ready, you can jump straight into the creation step. Define the motion and start the image-to-video process.
Turn a photo or designed image into video
Photo-to-video is useful when you already have a good frame but want to turn it into a moving scene. The photo can be a portrait, a product image, an architectural view, nature, an interior, or any other scene with a clear subject and composition.
Image-to-video is a broader concept. The source image doesn't have to be a real photo — it can be an illustration, a digital painting, a 3D render, an ad design, or an image created with AI. This matters for projects that first design how the scene looks and then need motion.
What should you write in the motion instruction?
Rather than vague sentences, it's better to make the main movement clear: what the subject should do, whether the camera stays still or moves, whether the pace is slow or fast, and how the end of the scene should look. A more precise description usually gives you more control over the direction of the generation.
- Camera movement such as moving closer, pulling back or moving sideways
- Natural movement of the subject or scene elements
- Preserving the product's shape and identity as much as possible
- Using an end frame for a clear visual destination
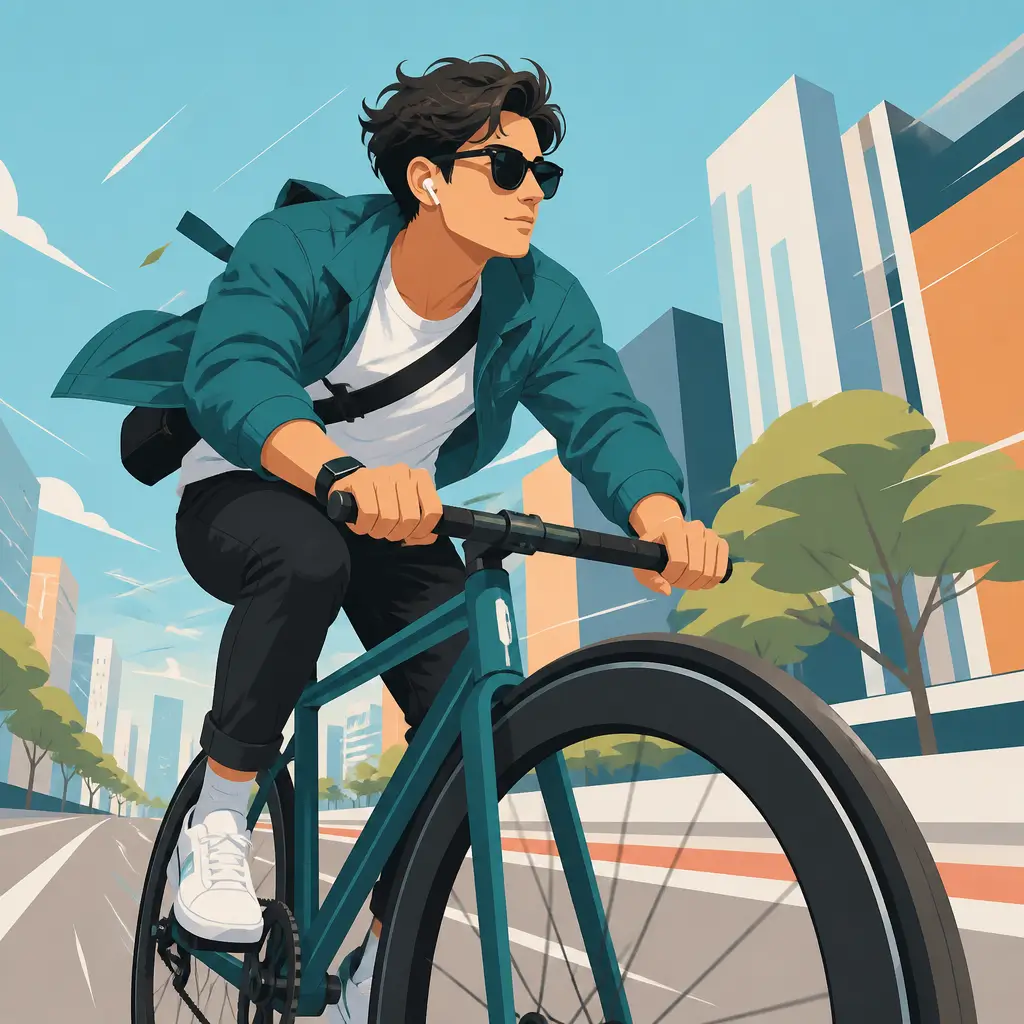
Use an AI storyboard before a multi-scene video
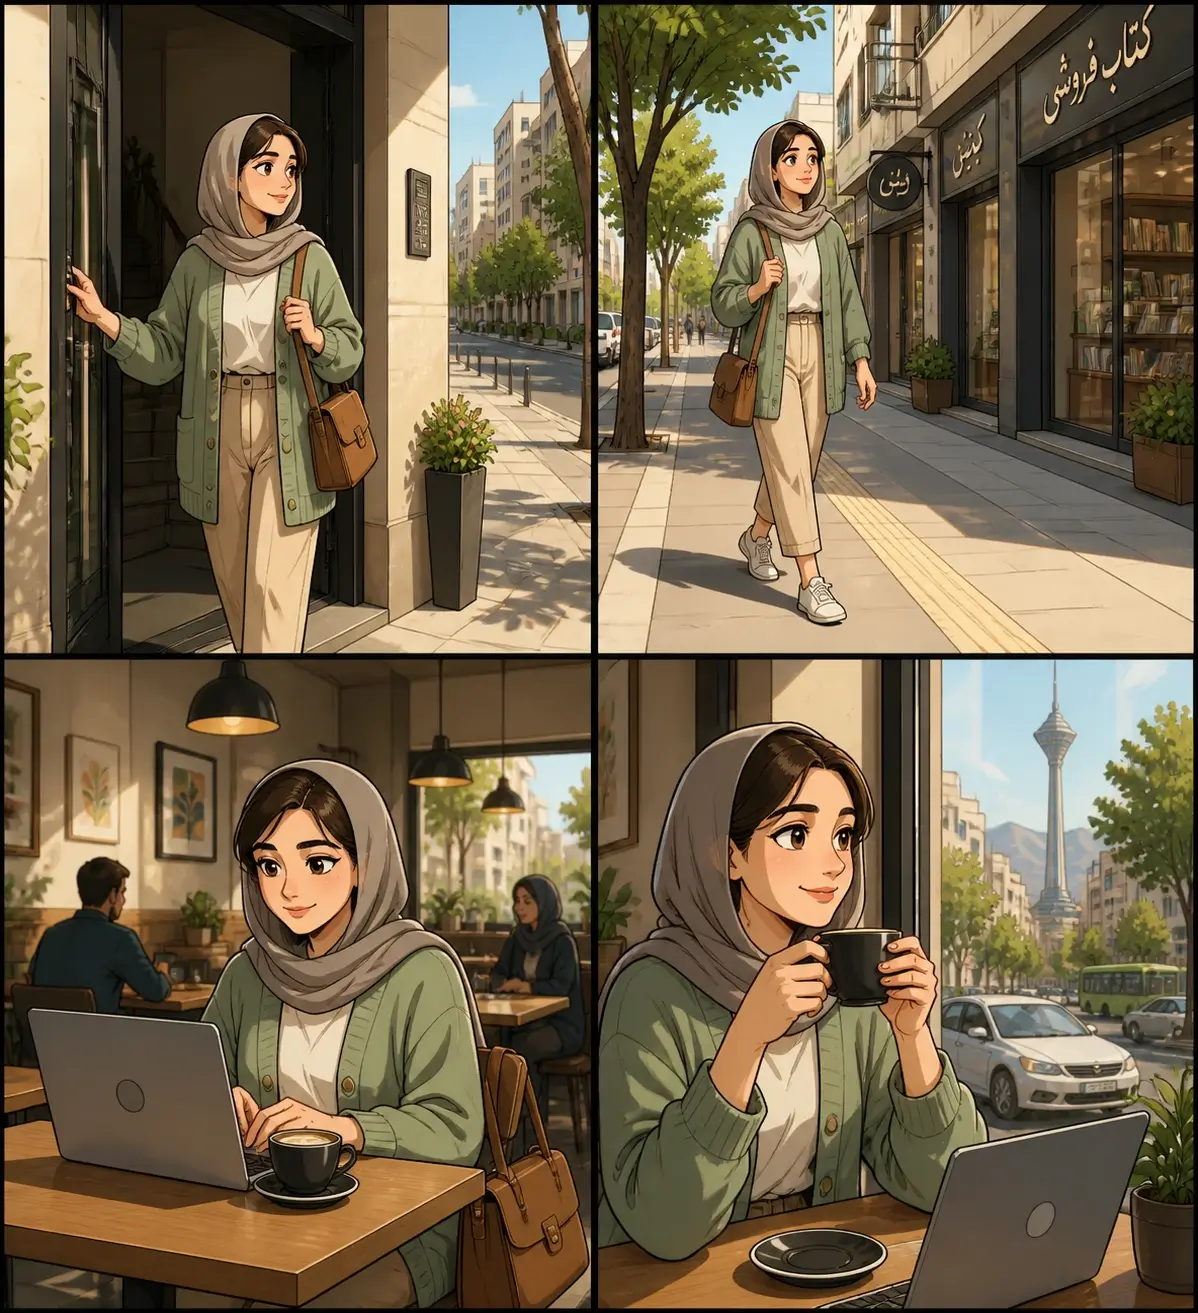
Creating an AI storyboard is useful when the video has more than one scene, or when you want to clarify the narrative path and shot order before production. A storyboard helps define what each shot shows, how the scenes are ordered, and which visual elements need to stay consistent throughout the project.
In the Pendid video workspace, you can define the topic, duration and visual style. Based on this, the system creates a multi-panel plan so the scenes have a logical connection from start to finish. You can then use that same plan to prepare individual frames or continue into video generation.
The main benefit of a storyboard isn't simply having a few images side by side — its value is in the decisions made before production. When shot order, viewpoint and each scene's role are defined, creating the frames and videos that follow becomes more purposeful.
Which projects benefit most?
- Multi-shot product introduction videos
- Short narratives and story-driven content
- Animations with several connected scenes
- Idea previews before spending credit on video generation
A short preview of the Pendid video workflow
In this 29-second video, you'll see a short look at the Pendid video workspace and the overall process of preparing a video project. This path can start with building a storyboard and preparing the starting frame, or, if you already have a suitable image, it can go straight to the image-to-video stage.
At the video-generation stage, the starting image is the scene's main reference. You can describe the subject's or camera's movement, and if needed, set an end frame too, so the overall direction of the motion is clearer. This approach works for photos, product images, illustrations, 3D renders and many other still images.
If the project has multiple scenes, a storyboard helps you define shot order and visual continuity before production. If your goal is simply a short movement from a ready image, you don't need to start with a storyboard — you can go straight into the video-generation section.
Animate illustrations, characters and product visuals
AI animation can start from a still image. Instead of manually designing the in-between frames, the video model creates the motion based on the reference image and your description. This works for illustrations, characters, products, 3D scenes and conceptual designs.
For example, you can ask the model to have a character slowly turn their head, move the camera toward a product, give the scene lighting a gentle change, or bring elements of an illustration to life in a controlled way. The clearer the main movement, the more limited the model's interpretation becomes.
In projects where preserving the subject's appearance matters a lot, it's better to request small, predictable changes. Very complex movements, drastic angle changes, or asking for several simultaneous events can increase the chance of unwanted detail changes.
Practical tip: if your goal is animating an image, first focus on a clean, understandable frame; then describe the movement in one or two main actions, not a long list of simultaneous events.
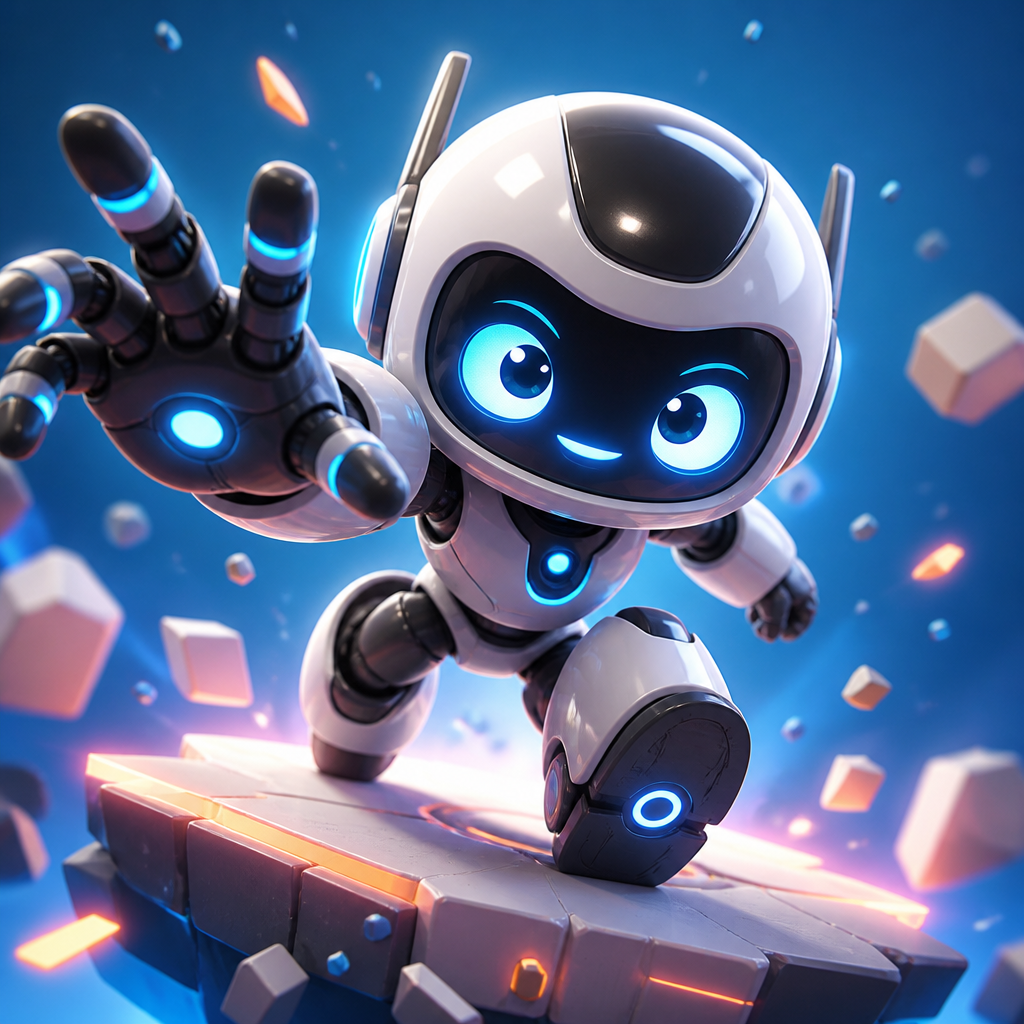
From idea and storyboard to frame and final video
Video generation becomes easier to control when its steps are separate but connected. The Pendid video workspace splits this process into a few clear stages, so you can review each part before moving to the next.
You can start with a short idea, and if the project has multiple scenes, build a storyboard first. Once the scenes are defined, prepare a suitable frame for each part. At the video-generation stage, choose the starting frame and describe the motion.
If you have a specific visual destination, add an end frame too. This works well when you want the motion to go from one state to another, or to create a visual link between two images.
AI output still needs review. To get a better result, you might need to simplify the reference image, write a shorter and more precise motion instruction, or limit the camera movement. This step is a natural part of the generative production process.
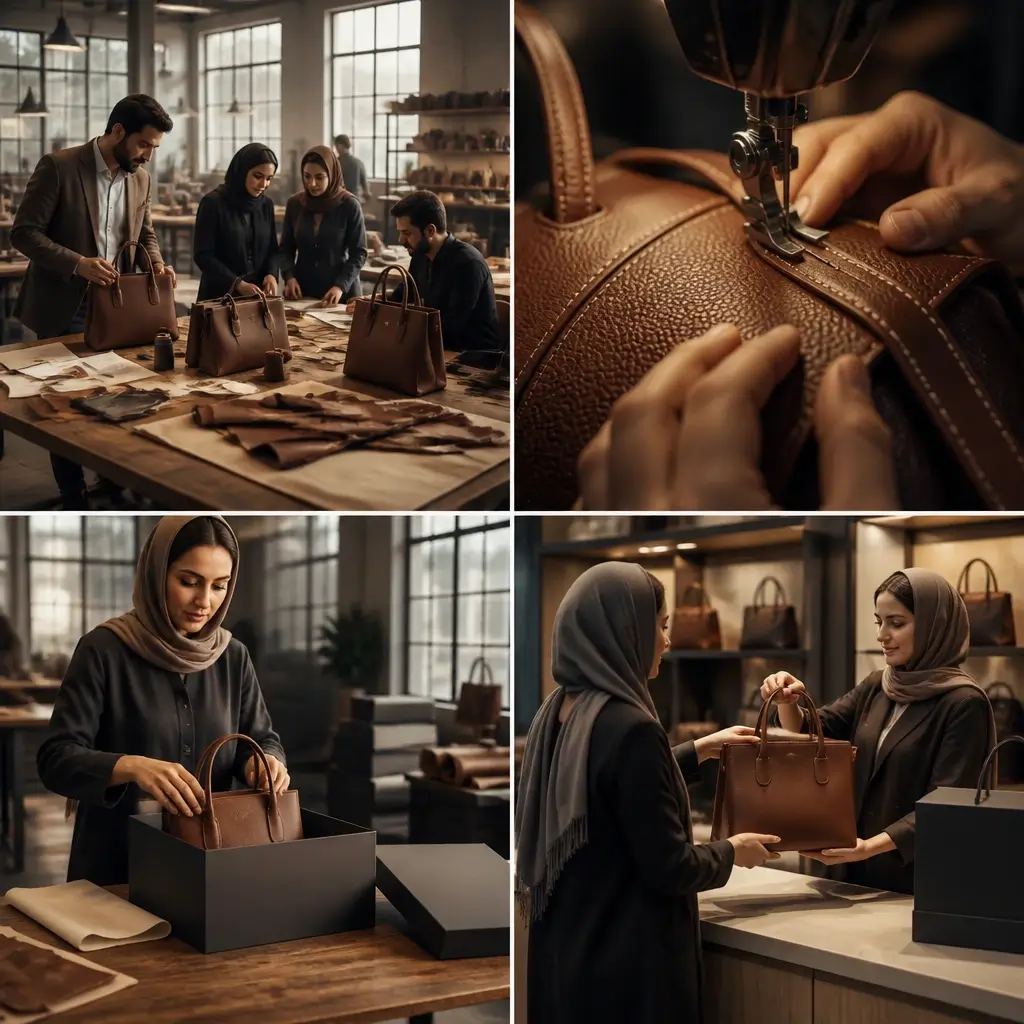
When should you choose a storyboard, image creation or making a video directly?
When the project has multiple scenes, narrative matters, or you want to define shot order and logic before production.
When you don't yet have a suitable starting frame, or want to control the subject's look, style and composition before animating.
When the starting frame is ready and you just need subject movement, camera movement or a short visual change.
Not every project needs to start with a storyboard. If you have a good image, you can go straight into image-to-video.
Practical AI video use cases
One of the main uses of generative video is shortening the path between an image or idea and a moving scene. Depending on input quality and the project's goal, it can be used across different content formats.
Camera movement, rotation or a controlled reveal of a product from the reference frame.
Turning a still image into a short video for posts, stories and vertical content.
Creating limited, purposeful movement for characters and illustrated scenes.
Camera movement through a render, interior view or conceptual image of a space.
Creating short shots to explain a concept or bring educational images to life.
Seeing the mood of a scene before committing to larger production or editing.
Write a motion instruction that describes change over time
You don't need to write a long text. A short, specific description that makes the subject, the main movement and the camera behaviour clear is usually more useful than several vague sentences.
For example: "the camera slowly moves closer to the product" or "the character turns toward the window."
If the camera should stay still, or pan, zoom or dolly, state it explicitly.
Combining several complex movements in one scene can make the result less predictable.
If colour, product shape or visual identity matter, define the movement so unnecessary changes are minimized.
If the final state matters, use an end frame or a clear description of how the motion ends.
In generative production, a second version with a more precise instruction can be very different from the first attempt.
Write the motion instruction in your own words. Focus on the scene's main event and cut unnecessary detail.
Frequently asked questions about AI video generation
The short answers in this section are meant to help you decide faster about photo-to-video, AI storyboard creation and animation.
What is AI video generation?
AI video generation uses generative models to turn a starting image, reference frame and motion instruction into video. In Pendid, the current workflow is image-led: choose or create a starting frame, optionally provide an end frame, describe the desired movement and generate a video result.
Can Pendid turn a photo into a video?
Yes. Image-to-video is a core path in the Pendid video workspace. Your photo or generated image becomes the starting frame and the motion instruction guides subject movement, camera behaviour and scene change.
What is the difference between photo-to-video and image-to-video?
The generation process is similar. A photo may be a real camera image, while an image may be an illustration, render, design or AI-generated frame. Both can be used as the starting frame when the live workflow supports them.
What does an AI storyboard do?
An AI storyboard helps plan scene order, shot purpose, visual direction and continuity before generating individual clips. It is especially useful when a project has several scenes and needs a clearer narrative path.
Does Pendid support AI storyboards?
Yes. The current video workspace can help create a multi-panel storyboard from a topic, duration and visual direction, then use that plan as a basis for preparing frames and continuing into video generation.
Can I make animation from a still image?
Yes. A still product image, character, illustration, design or scene can be animated by describing subject movement, camera movement and how the scene should behave over time.
Do I need a starting image?
The current Pendid video workflow is based on a starting image. You can upload an existing image or first create a frame with Pendid image tools and then animate it.
What is an end frame used for?
An optional end frame gives the generation a visual destination. It can be useful when you want the motion to move toward a particular final composition or state. It is not required for every video.
Can I write the motion description in my own words?
Yes. You can describe the idea and the motion you want in your own words. The system prepares your description for the generation process so the main movement, camera behaviour and visual continuity are clearer for the video model.
What kind of starting image works best?
A clear image with a readable subject, stable details and a coherent composition is usually easier to animate than a very cluttered or ambiguous frame. Review text, logos, hands and fine product details carefully after generation.
What is AI video useful for?
Common uses include product introductions, social content, short motion pieces, animation of illustrations, concept previews, visual storytelling, educational clips and turning a static frame into a moving scene.
Will the generated video remain exactly identical to the starting image?
No. Generative video can change details during motion. A clear starting frame, focused motion instruction and an optional end frame can improve control, but every result should still be reviewed before publication.
To get started, a suitable image is enough, and if you have a specific movement in mind, you can describe it. If the project has multiple scenes, define the storyboard first.
Turn your idea into an actionable video path
You can start with a storyboard, build a suitable frame, or animate a ready image directly. The right path depends on the project's complexity and how much control you need over the scene.
Start creating AI video