

AI architecture design for concepts, renders and visual exploration
AI architecture design in Pendid Architect helps you take spatial ideas out of your head: create an architectural image from a written description, turn a sketch or initial image into a more complete render, develop interior design and building facades, review cabinets and wardrobes to fit a real space, change one specific part of a render, and increase output quality up to 8K.
This environment isn't built to replace an architect's thinking and experience — its goal is to shorten the distance between an idea, a visual test and a presentation. Each tool is designed for one specific need, so you can enter your project information without wrestling with complex prompt writing, and use the system's guidance along the way.
- Text-to-architecture concepts
- Interior design and facade
- Cabinet and wardrobe concepts
- Targeted render editing
- Image upscaling up to 8K

Where AI can help in an architecture workflow
Architecture rarely begins with a finished answer. First a vague idea takes shape, then several visual directions are explored, form and material change, and eventually an image is created that you can decide on or present to the client. AI tools can make the visual part of that process faster and more flexible.
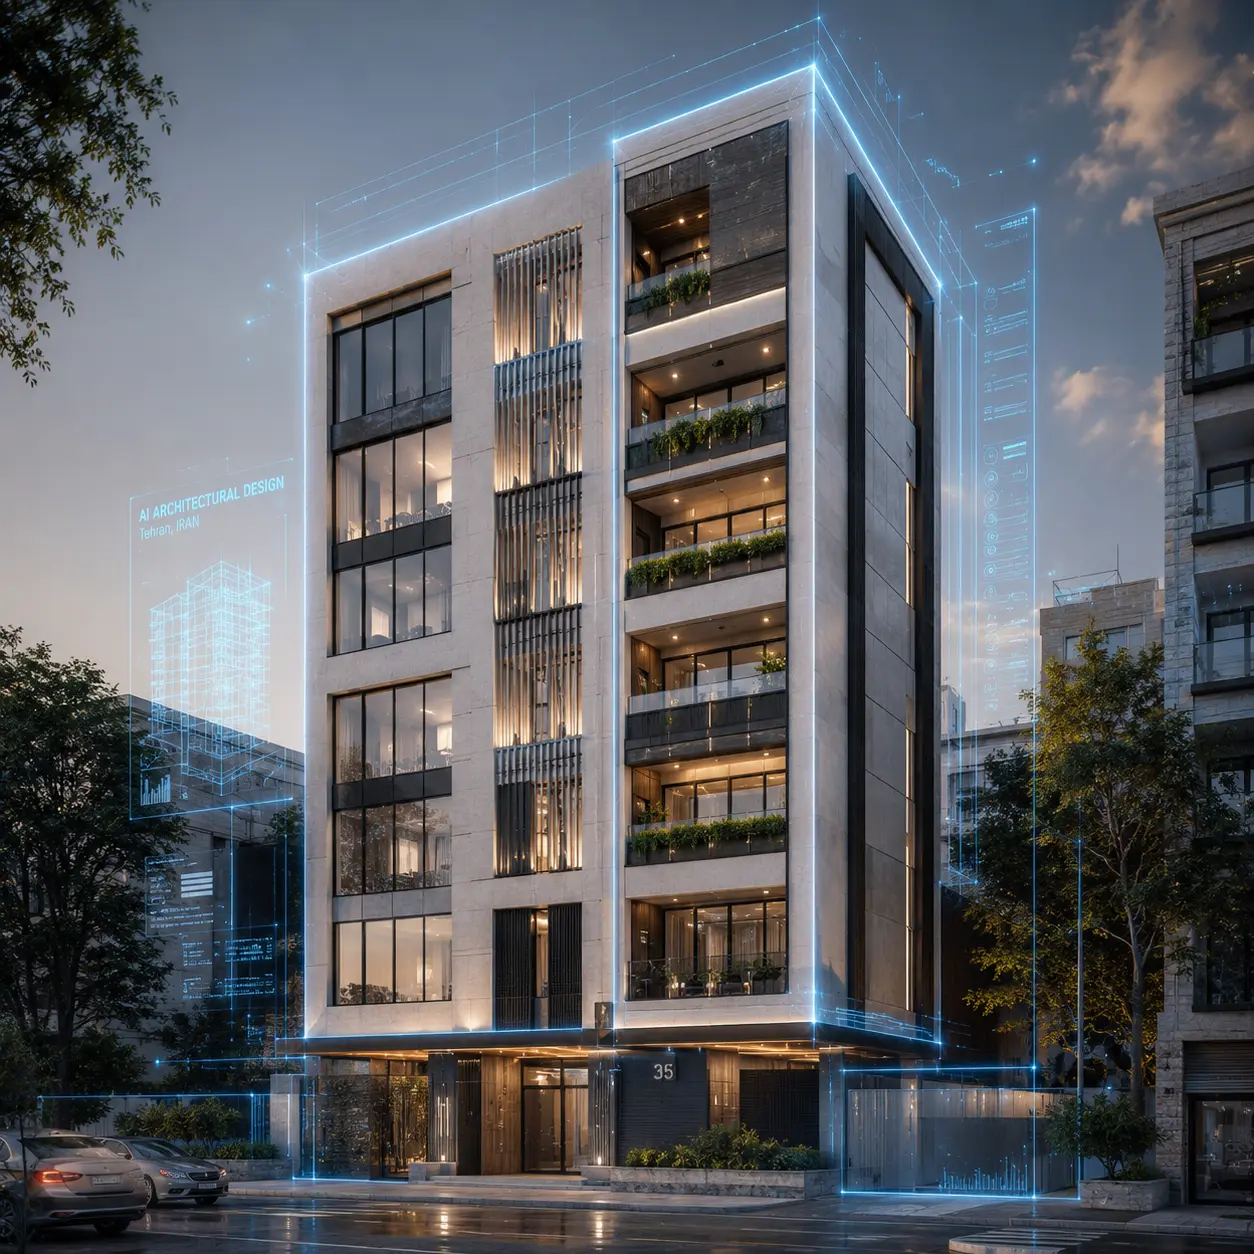
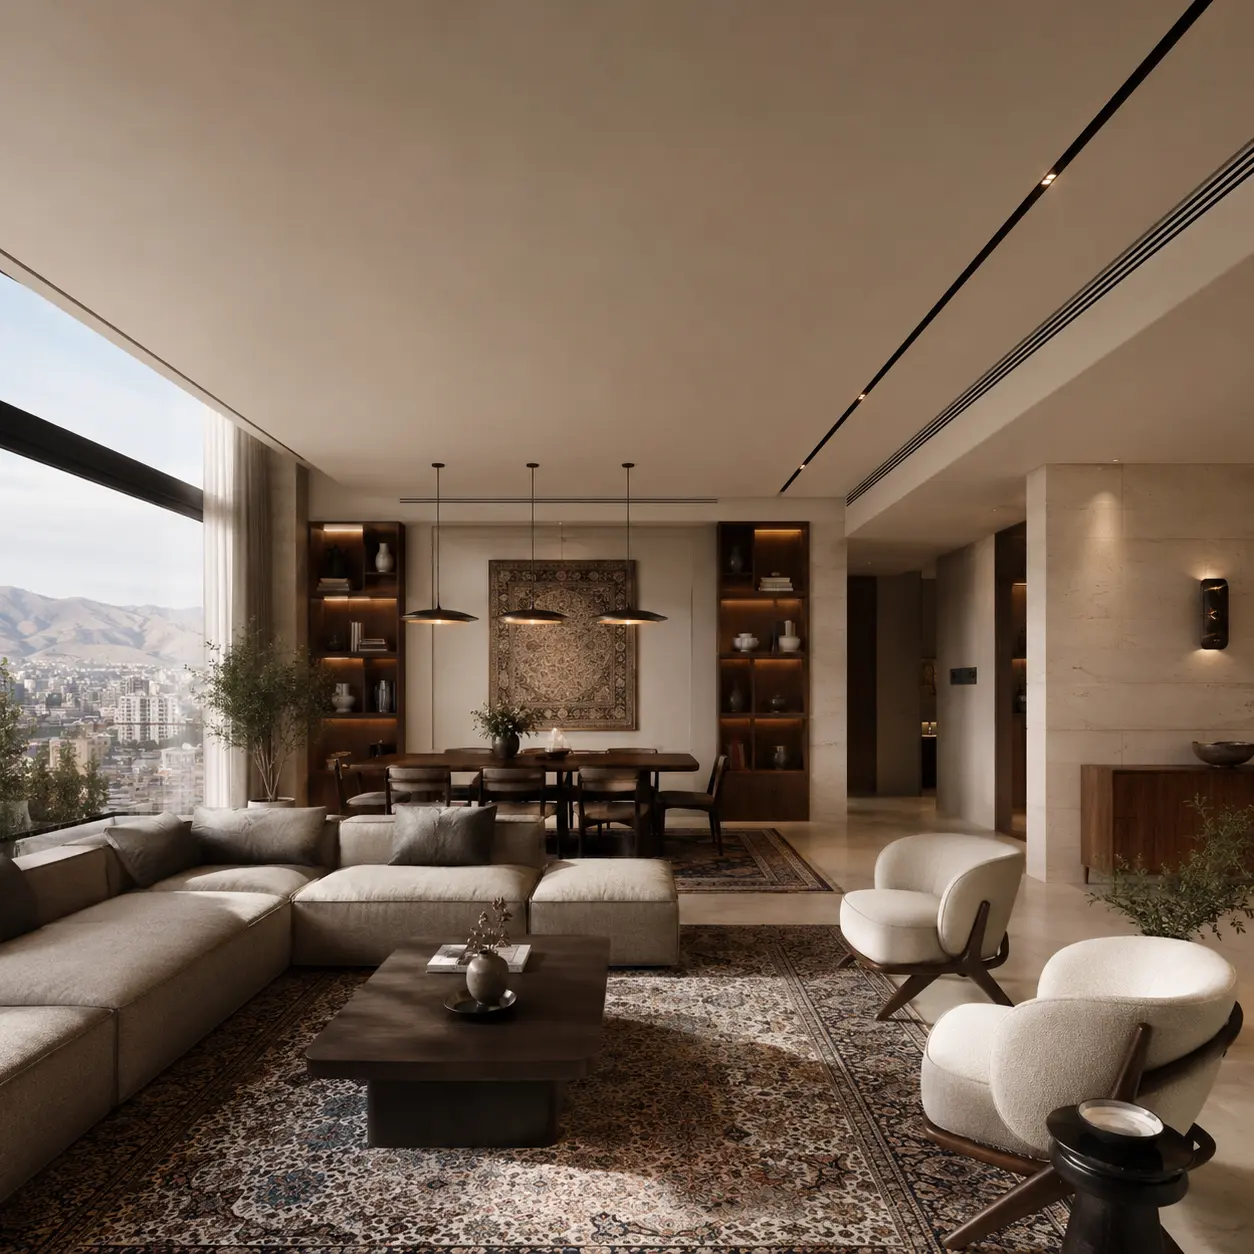
Sometimes you only have a description in mind: a two-storey villa with light stone, natural wood, large windows and soft evening light. In this case, the text-based ideation tool can create an early visual reference. Sometimes the project's form is already defined and you have a sketch, a raw massing study or a 3D model image ready; at this stage, the design-and-render development tool helps turn that same structure into a more complete image with more realistic light, material and space.
In the interior design and exterior design sections, the input path is tailored to the project type, so choosing style, material, light, use and the project's main request happens in a more organized way. In cabinet and wardrobe design, you can also specify functional needs, colour, door shape, material type and storage details, so the system can use that same information to build a more precise request.
At another stage, the overall render might already work well, but you might just want the window frames darkened, the terrace floor material changed, or the space's lighting to feel warmer. The controlled editing tool is built to focus on exactly the requested change. Once the image is ready, you can also use Upscale to increase its resolution for a larger presentation and to show more detail.
The main value of this process isn't just speed. When you can see several design directions earlier, comparing options becomes simpler, and the conversation about the project moves from abstract descriptions to a viewable image. The architect still decides on function, proportion, structure, climate, regulations and spatial quality — AI is just a new tool for seeing and presenting those decisions.
Specialized tools for real stages of architectural visualization
Pendid Architect isn't a generic image generator with a few scattered options. Each tool is designed for a specific problem, so you know what input to give, how the system helps, and what kind of output to expect.
Build an early visual reference from a written architectural direction when you do not yet have an input image.
Develop sketches, wireframes, massing studies and raw views into more complete architectural visualizations.
Explore controlled changes to materials, colours, lighting or limited parts of an existing architectural image.
Explore visual directions for cabinetry, finishes, storage and door treatments inside an existing or proposed space.
Explore built-in wardrobes, walk-in closets, storage layouts, finishes, mirrors and lighting concepts.
Prepare larger presentation images at supported 2K, 4K or 8K levels while preserving the source aspect ratio.
Generated images are shown in your account gallery, so you can review, compare and re-download previous results.
Enter the environment from your browser and describe your architecture request in plain, natural language — no software to install.
Forms, choices and helper text in each tool are designed for that exact task, so you can build a more precise request without complex prompt writing.
Explore architectural ideas before you have a sketch
When you don't have a sketch or model ready yet, starting from a blank page is hard. In the ideation tool, you can write what is in your mind in plain language and get a fresh architectural image. Your sentence doesn't need to resemble complex, technical AI prompts — it is enough to state the project's key information clearly and in order.
It's best to first define the project type or space — for example, a residential villa facade, a hotel lobby, a living room, a café, a central courtyard, a cultural-complex ground, or an urban space. Then add style, materials, lighting conditions, season, camera angle and the mood you want.
This tool isn't limited to photorealistic images. You can also request a concept, a conceptual sketch, a diagram, a section, an elevation, an axonometric, a conceptual plan or a presentation sheet. It's important to explicitly state the image type, so the system knows whether you want a realistic render or an analytical, graphic presentation.
- Good for a quick review of style, form, material and the overall project space
- Works for exteriors, interior design, landscape and urban environments
- Supports natural-language description and continuing to refine the same project
- Output is shown in the gallery, with the option to download the final image
Develop a sketch, massing study or raw view into a render
In many projects, the main task isn't creating a completely new idea — you've already designed the form and just want to turn it into a more presentable image. The design-and-render development tool is built for exactly this stage. You upload the base image, describe the result you want, and the system tries to preserve the existing form, geometry, composition and viewpoint as much as possible.
The input can be a hand-drawn sketch, a simple elevation, a wireframe, a 3D-model screenshot, a white massing study, or a raw render that doesn't yet have final material and light. In your description you can specify the use type, architectural style, materials, sky condition, vegetation, time of day, light quality and level of realism.
This approach is useful when you want to see several presentation directions without resetting a heavy scene — for example, comparing a fixed form with stone, brick and wood-combination facades, or reviewing the same massing in daylight and at dusk.
Setting the right expectation: preserving the structure doesn't mean the image is locked pixel-by-pixel. The model may make limited changes while completing details, so for execution decisions, dimensions and details still need to be checked in specialized software.
Change one part of a render without restarting the project
Not every architectural correction needs a full image redesign. You might like the overall render, but the colour of one wall, the floor material, the furniture, the lighting, the vegetation or a window frame might not match your new decision. In that case, you can bring the image into the editing tool and describe only the change you want.
A good instruction should specify three things: what should change, where in the image the change should happen, and which parts must stay the same. Instead of writing "make the image better," write "only change the upper-floor terrace flooring material to light wood, and keep the facade form, windows and lighting unchanged."
Controlled editing works well for testing material options, changing colour, fixing lighting, replacing a limited element, or aligning the image with a new project decision. For multiple corrections, it's better to run them in a few short, specific steps.
- Change material, colour, light or a specific element in the image
- Describe the parts that must stay untouched
- Good for making different versions of an existing render
- Reduces the need to fully rebuild the image for limited corrections

Explore kitchen cabinet styles inside the space you already have
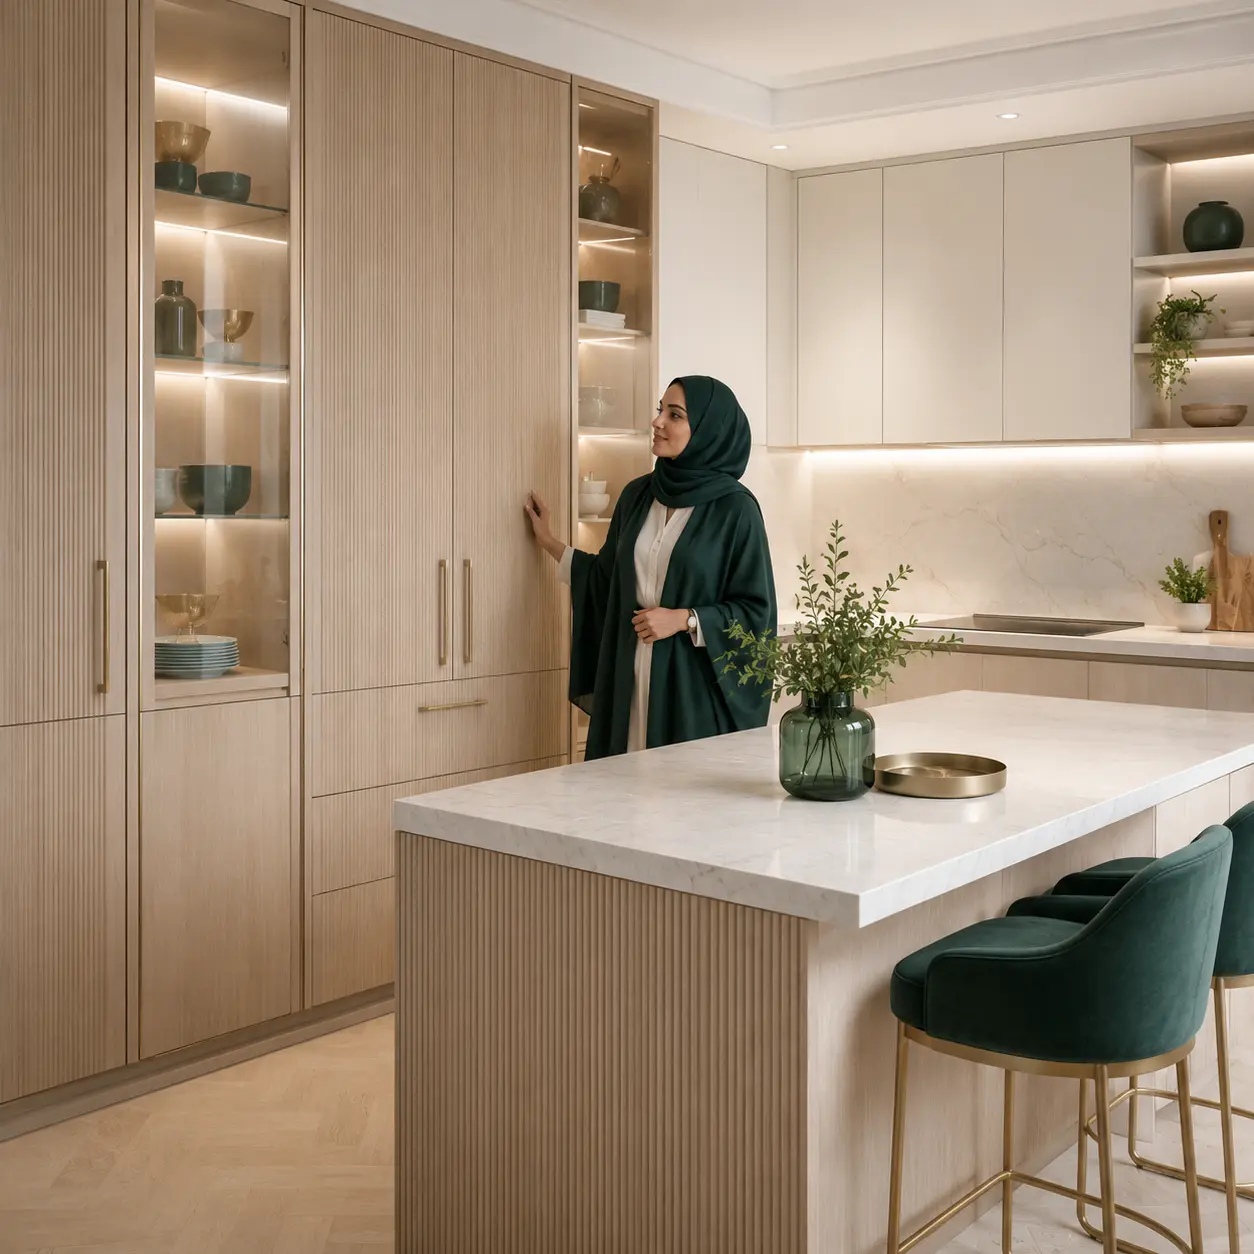
Cabinet design isn't just picking a colour or style. Layout, sink and stove placement, cabinet height, lighting, access, storage space, and how the cabinets relate to the floor, wall and kitchen appliances all affect the result. In the cabinet design tool, you can upload an image of the existing space and choose or describe the design's main specifications step by step.
You can specify styles such as modern, minimal, classic or neoclassical, body colour and material, door shape, handle type, the combination of base and wall cabinets, an island, a display cabinet, under-cabinet lighting and other details. If an option isn't on the list, a free-text description lets your project's needs go beyond a few fixed choices.
The system places your choices alongside your text description and turns them into a more organized request. This means you don't need to know complex prompt-writing terms to get a reviewable image. The result is useful for comparing style and colour, discussing with the client, and finding an initial design direction.
- Design based on the kitchen or existing-space image
- Choose style, colour, material, door shape and handle type
- Usable for linear, L-shaped, U-shaped and island layouts
- Add a free-text description for needs outside the list
- Good for visual review; dimensions and execution details must be checked separately
Execution note: the generated image can clarify the design direction, but measurements, utility placement, openings, hardware and construction drawings must be reviewed by a professional.
Visualize built-in wardrobes and walk-in closet concepts
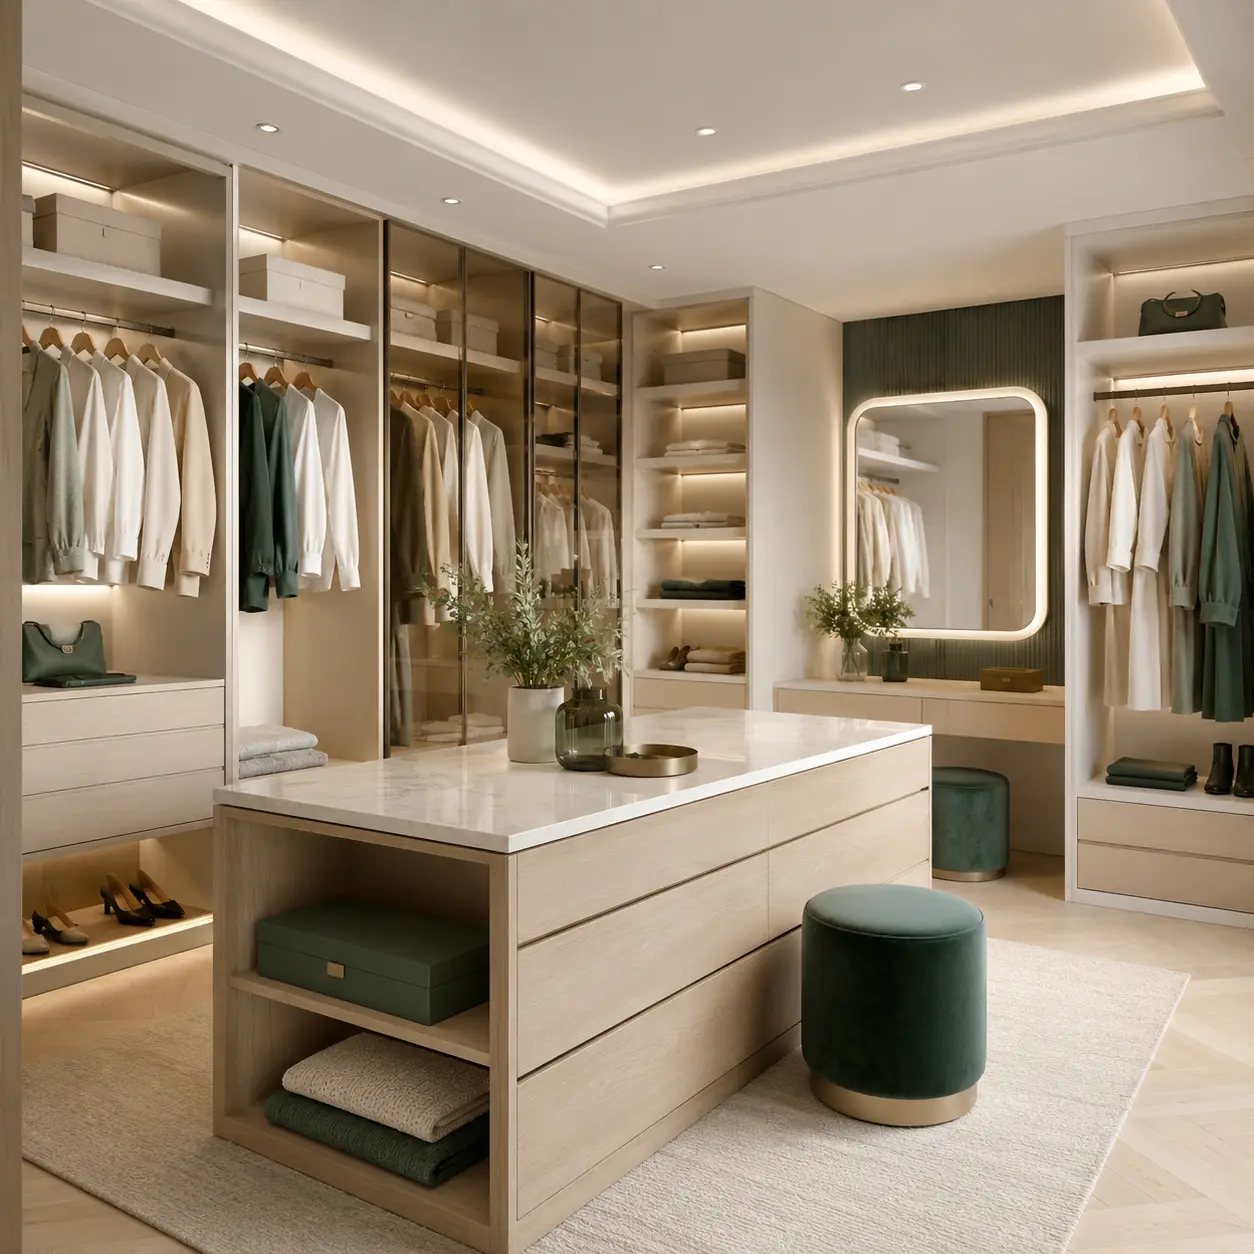
A good wardrobe needs to match both the room's architecture and your real needs. The number of clothes, long garments, drawers, shelves, shoe storage, a mirror, a vanity, luggage space and interior lighting can all change the wardrobe's structure. The wardrobe and closet design tool is built to turn these needs into a reviewable image.
You can upload an image of the wall or existing space, then define the project type: a wall wardrobe, bedroom wardrobe, entryway wardrobe, dressing area or walk-in closet. After that, choose or describe the style, colour, material, door type, open/closed combination, number of drawers, shelves, hanging rails, mirrors and lighting.
For a better result, also mention the space's constraints — for example, a window, a radiator, a column, an entry door, or a sloped ceiling. The more realistic the input and the clearer the goal, the more useful the final image will be for deciding and comparing options.
- Good for wall wardrobes, bedroom wardrobes, entryways and walk-in closets
- Choose door type, colour, material and shelf/drawer combination
- Define hanging rails, mirrors, shoe storage, interior lighting and luggage space
- Visual harmony with the room's architectural style and decor
- Usable for comparing several design directions before the construction drawing
For a more accurate result: prepare a clear, front-facing image of the wardrobe location, approximate dimensions and the main storage needs. The visual output is not a substitute for cutting plans, hardware details or construction measurements.
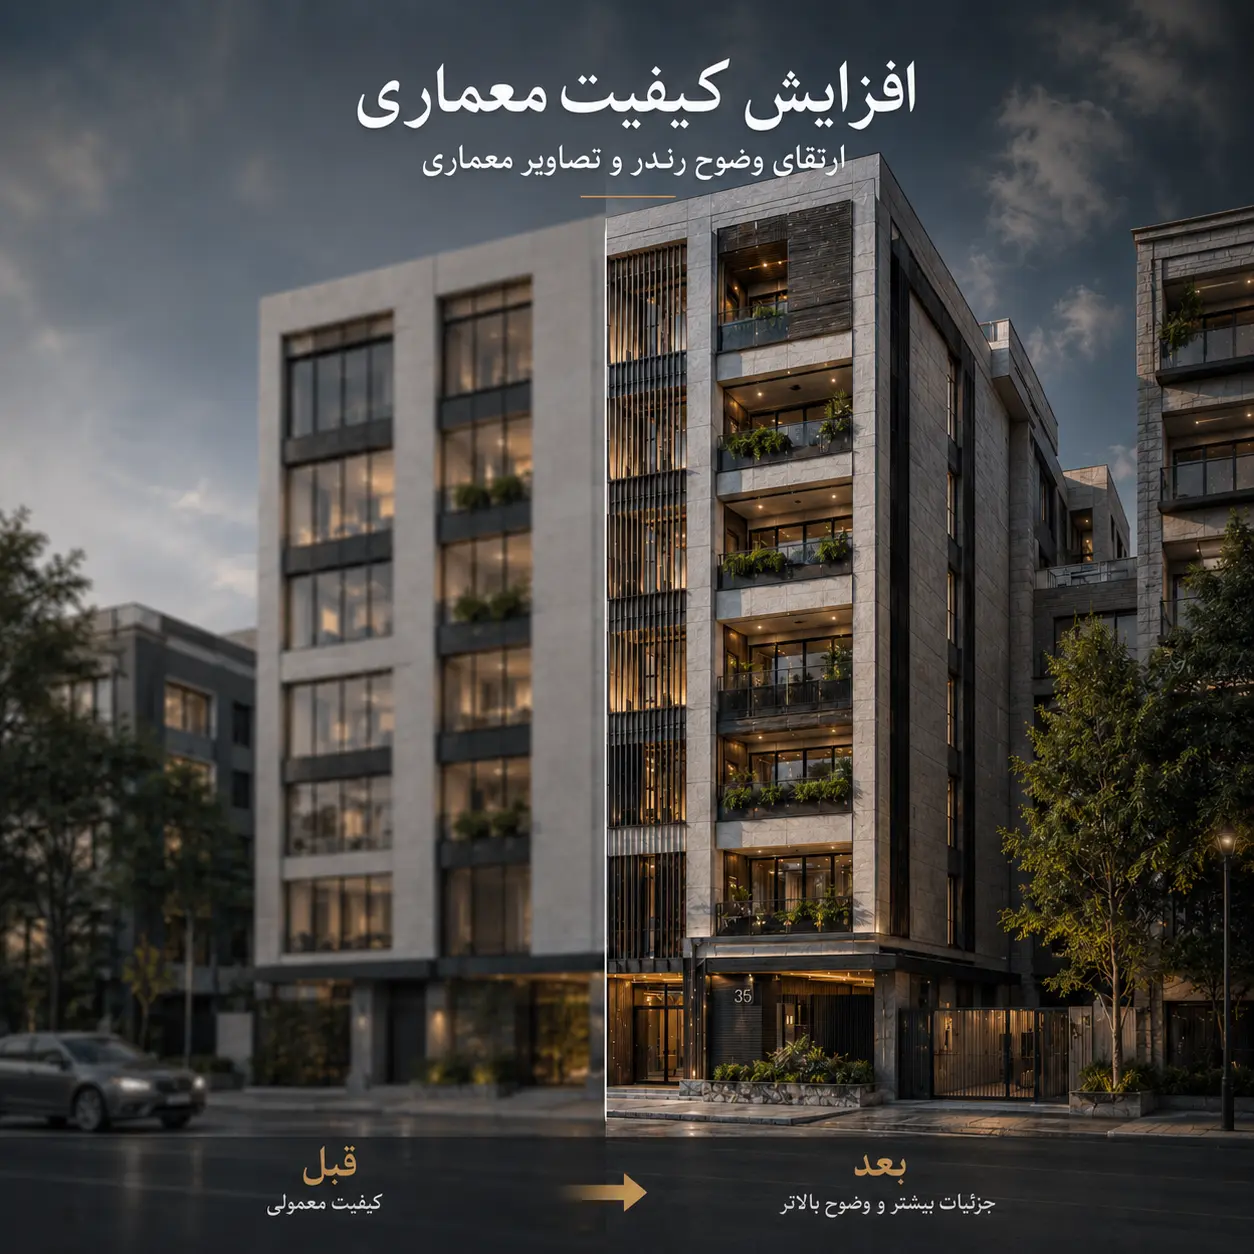
Prepare larger architectural visuals up to supported 8K output
A good idea becomes worth presenting when its output is seen at the right size and with enough resolution. The Upscale tool in Pendid Architect is built to enlarge an architectural image and bring its long side up to 2K, 4K or 8K levels. At the 8K level, the image's long side can increase up to 8192 pixels, and the original aspect ratio is preserved.
This is useful for renders that will be shown on a larger display, placed in a portfolio, used on a presentation sheet, or reviewed for print preparation. The output level is chosen based on the input image's dimensions and your plan's access.
Upscaling isn't simply stretching the image — its goal is to increase resolution and detail readability in the larger version. That said, no upscaling tool can reconstruct with certainty information that wasn't fully present in the base image. The best result comes when the original render already has good composition, acceptable lighting and suitable base detail.
The difference between 2K, 4K and 8K in architectural output
2K is suitable for everyday use and lighter online display. 4K provides more room for presentation and viewing detail. 8K is valuable when the image needs to be seen at a larger size, or when you want the tool's maximum available resolution. Choosing a higher level doesn't always mean a better design — the quality of the base image and the intended use determine which level makes more sense.
A simple way to use Pendid Architect
The path changes depending on your goal, but you can follow these four simple steps to reach a usable output.
Decide whether you want to create an image from text, render a sketch, design an interior or facade, create a cabinet or wardrobe, edit an existing output, or increase image resolution.
A text description is enough for ideation. For space-based design, render development, editing, cabinets, wardrobes or upscaling, choose a relevant, clear image.
Clarify the space type, style, materials, light, viewpoint and the result you want. For cabinets and wardrobes, also write down functional needs and storage details.
Evaluate the result against the project's form and goal, generate another version if needed, then download the right file from the gallery.
Who is Pendid Architect for?
The value depends on the project stage and the visual decision you need to make. The following groups can use Pendid Architect for ideation, presentation and image development.
Explore concepts, material directions, render variations and presentation options more quickly.
Test atmosphere, materials, colour, furniture and lighting across residential, hospitality and commercial spaces.
Develop visual language, compare alternatives and strengthen presentation material alongside the actual design process.
Visualize approximate material and spatial directions before committing to more expensive decisions and professional work.
Explore visible design language and storage concepts before technical detailing and fabrication.
Prepare concept visuals for portfolios, websites, pitches, project discussions and visual marketing.
How to write a better architecture prompt
A useful prompt is not necessarily long. It is structured. Start with the project itself, then add the visual decisions that actually matter.
1. Define the project or space
Replace vague phrases such as “a beautiful building” with something concrete: a two-storey house in a warm climate, a hotel lobby, a small apartment kitchen or a built-in wardrobe for a bedroom.
2. Describe architectural language and form
Words such as modern or minimal are broad. Add the qualities you mean: simple horizontal volumes, soft curves, exposed structure, recessed openings, frameless cabinetry or another specific direction.
3. Add materials, lighting and environment
Stone, brick, exposed concrete, natural wood, matte panels and dark metal create very different results. Time of day, weather, vegetation and artificial lighting also shape the image.
4. Specify output type and viewpoint
State whether you want a photorealistic render, conceptual sketch, front elevation, bird's-eye view, human-eye perspective, section, diagram or another presentation type. For cabinets and wardrobes, a front-facing view or an angle that shows the whole wall and the space's constraints is usually more useful.
Example architecture prompt
                                Contemporary two-storey house with simple horizontal volumes,
                                light limestone and natural wood, floor-to-ceiling windows,
                                landscaped courtyard and narrow pool, human-eye perspective from
                                the corner, warm late-afternoon light, realistic architectural
                                visualization, no text in the image.
Example cabinet prompt
                                Redesign this kitchen with flat-panel handleless cabinetry,
                                matte olive-green fronts and light oak, full-height storage,
                                a narrow island with three stools and warm linear under-cabinet
                                lighting. Keep the window, flooring and main appliance positions
                                unchanged.
For editing an image, make this same pattern shorter and more targeted. First state where the change should happen, then the change you want, and finally which elements should stay fixed.
Example edit prompt
                                Only replace the wall behind the counter on the right side of
                                the image with dark red brick. Keep the lighting, furniture,
                                flooring and camera angle unchanged.
Why Pendid Architect is useful for the architecture process
An architecture tool is only useful when, beyond generating an image, the path to using it is clear, controllable and matched to your real need.
Image creation, design rendering, editing, cabinets, wardrobes and quality enhancement happen in separate environments, so the input and expectation for each stage are clear.
You can write your request in natural, everyday language, so instead of wrestling with technical prompt phrasing, you can focus on the architectural decision.
Each tool's choices and helper text organize your project information, so you can send a more precise request without prompt-writing knowledge.
Interiors, facades, renders, cabinets, wardrobes, closets and other built-environment topics are within the tools' scope.
After processing, the image appears on the tool's canvas and gallery, and you can download the final version to continue your work.
The tools' environment is designed for different screen sizes, so managing input and viewing output isn't limited to one device.
The line between a convincing image and a professional decision
AI can create a persuasive architectural image in minutes, but visual credibility does not guarantee buildability, correct dimensions, structural logic, accessibility, services coordination or compliance with local codes and regulations.
The same principle applies to cabinetry and wardrobes. A concept may communicate style and overall layout while missing plumbing, power, ventilation, door clearances, material thickness, hardware, tolerances or fabrication constraints.
For concept work and comparing options, speed and output variety matter. For developed design, proportions, dimensions and how spaces relate to each other need to be checked. For execution, technical drawings, calculations, details and professional sign-off are also required. Pendid Architect helps with the visual part of this chain, but it doesn't remove the responsibility for professional evaluation.
Professional takeaway: use AI for visual exploration, comparison and presentation — then evaluate every important decision against real project constraints and professional requirements.
Frequently asked questions about AI architecture design
Direct answers about Pendid Architect and its main visualization workflows.
What is AI architecture design?
AI architecture design uses generative and image-editing systems to help visualize concepts, develop sketches, explore materials and lighting, refine architectural renders, create cabinetry and wardrobe concepts, and improve presentation images. It can speed up visual exploration, but professional architectural judgement remains essential.
Can I write my request in my own words?
Yes. In Pendid Architect you can write your architecture description and edit requests in natural, everyday sentences. It is best to clearly describe the space type, style, material, lighting, viewpoint and the change you want.
Can Pendid Architect turn a sketch into a render?
Yes. The design-to-render workflow can use a sketch, massing image, wireframe, raw 3D screenshot or unfinished render as a starting point, then develop it into a more complete architectural visualization while attempting to preserve the main form and viewpoint.
Can I change only one part of an architectural render?
Yes. The controlled render-editing workflow is designed for targeted changes such as material, colour, lighting, a window frame or another limited area. State what should change and also what should remain unchanged.
How is AI kitchen cabinet design done?
In the cabinet design tool, you upload an image of the kitchen or existing space, then choose or describe the style, colour, material, door shape, handle type, layout and other details. The system turns this information into an organized request so the result stays close to the real space.
Can I create wardrobe and walk-in closet concepts?
Yes. The wardrobe and closet workflow works for wall wardrobes, bedroom wardrobes, dressing areas and walk-in closets. It is best to specify approximate dimensions, style, colour, door type and storage needs. Final dimensions and construction details still require technical verification.
How is image quality increased up to 8K?
In the Upscale tool, you can choose a 2K, 4K or 8K output level depending on your account access and the input image dimensions. The aspect ratio is preserved, and at the 8K level the long side can increase up to 8192 pixels.
Is Pendid Architect useful for interiors and exteriors?
Yes. It can support visual exploration for interiors, facades, villas, landscapes, urban spaces, renovations, architectural lighting and other residential, commercial, hospitality and workplace environments.
Can AI architecture output be used as construction documentation?
No. AI-generated architectural imagery is suitable for ideation, visual comparison and presentation. It should not be treated as construction drawings, structural calculations, code-compliance documentation, engineering details or build-ready instructions without professional review.
Does Pendid Architect replace professional architecture software?
No. It is not a complete replacement for CAD, BIM, 3D modelling, documentation or professional rendering software. Its role is to shorten visual ideation, image development, alternative exploration and presentation workflows.
Are the outputs I create saved in my account?
Each tool has its own dedicated output gallery, so you can review generated images again and download the one you need. Access and the number of available outputs can vary depending on the tool's status and your account's subscription.
Who is Pendid Architect for?
It is designed for architects, interior designers, architecture students, design studios, builders, renovation teams, cabinetry and wardrobe designers, landscape designers and other users who need architectural visualization for ideation or presentation.
See architectural ideas earlier and present them more clearly
Use Pendid Architect to explore concepts, develop sketches into visualizations, refine renders, test cabinetry and wardrobe ideas, and prepare higher-resolution architectural images.
Start with Pendid Architect